
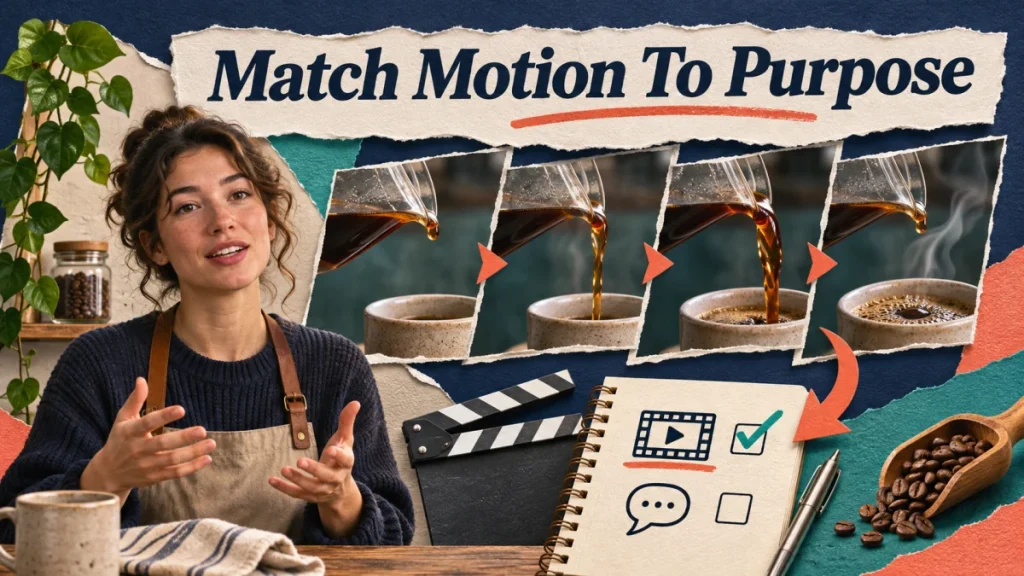
Choosing a frame rate starts with a practical question: does the viewer need to hear someone speaking normally, inspect fast movement or enjoy a deliberate slow-motion detail? Write that purpose beside each planned shot. The answer should guide capture and editing before a menu setting becomes a habit.
Frame rate is a production choice that affects motion, available slow motion and the relationship with shutter and lighting settings. It is not a shortcut to cinematic quality or guaranteed distribution. Start with the subject, intended playback and current upload guidance, then keep the project and export settings consistent.
Separate capture from playback
Capture rate describes how many pictures the camera records each second. Timeline playback describes how those pictures are presented in the finished edit. A clip recorded at a higher rate can remain normal speed, or its frames can be spread over a longer period for slow motion. Those are different editorial decisions, even when the same source file is involved.
For an illustrative calculation, footage captured at 60 frames per second and interpreted at 30 frames per second takes twice as long to play when every recorded frame is used once. That arithmetic explains the relationship; it is not an Instagram delivery requirement. Check the current supported upload settings separately before selecting the final timeline and export.
Mark which shots really need extra frames
A café owner might record a spoken introduction at the normal project rate, capture a fast pour for possible slow motion and keep a steady finished-drink shot at ordinary speed. Recording everything in a high-speed mode adds files and decisions without necessarily improving any explanation. Some phone modes also change available camera controls, framing or sound, so test the actual device.
Do not slow speech accidentally. An editor can interpret a high-rate clip as slow motion and discover that the presenter now moves unnaturally or the audio no longer aligns. Label clips by intended use before importing them. A simple note such as “pour, slow detail” is more useful than relying on a filename that contains only a date.
Test light and motion together
Higher capture rates can reduce the time available for each exposure. In a dim café, that may force the camera to compensate in ways that produce noisier or less attractive footage. Compare short recordings under the actual lights before the session. The question is whether the useful detail remains clear, not whether the highest setting is technically available.
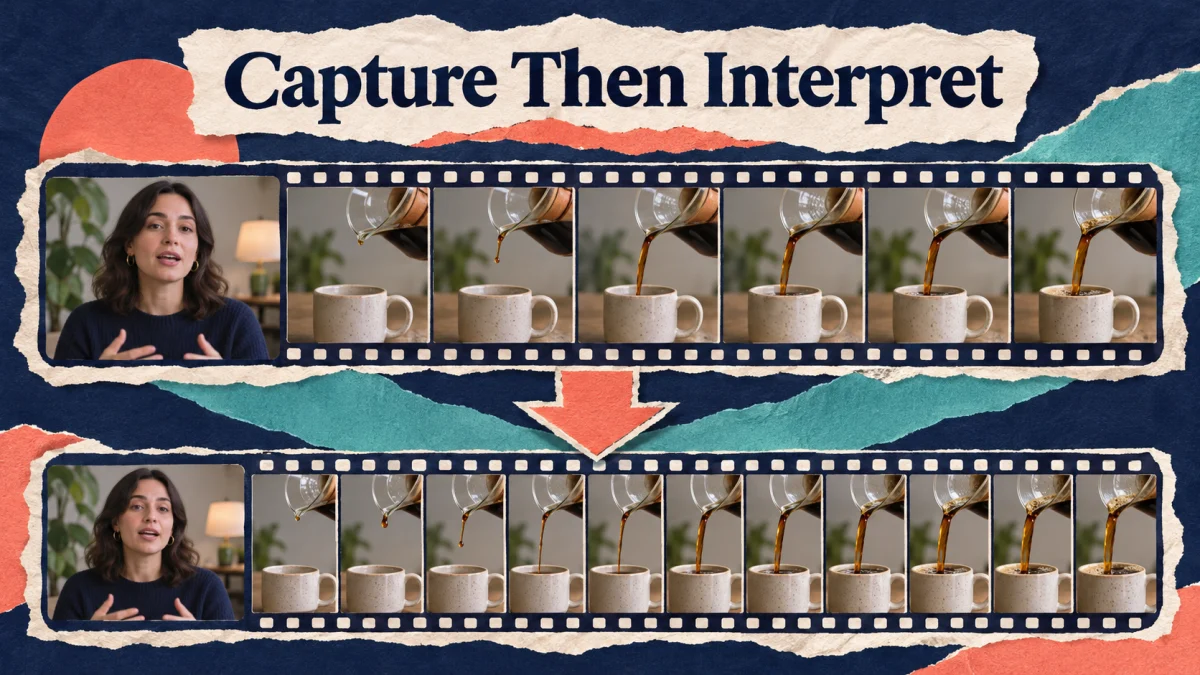
Watch for pulsing brightness or moving bands under artificial lighting. Record a test with the proposed camera settings, play it back and inspect the result. If you see flicker, test another compatible capture or exposure setting, change the troublesome light or use a more stable source. A general shutter convention cannot guarantee flicker-free footage under every lamp and dimmer.
Protect the meaning of the movement
Slow motion can reveal the shape of a pour, but it changes the perceived duration of the action. If the lesson concerns how long to hold an object or apply a treatment, identify the altered speed or show that instruction at real speed. Do not let an attractive shot make a practical process ambiguous.
Use ordinary playback first when checking a tutorial. Can a viewer recognize the action without the slow section? If the slow section explains a specific detail, connect it to that detail through narration or a clear label. If it only lengthens an already obvious moment, keep it as an optional visual rather than making it the lesson’s centre.
Inspect mixed footage on the timeline
Check how the editor handles clips recorded at different rates. It may drop, repeat or generate frames depending on settings and speed changes. Look at hands, straight edges and objects passing one another; these can expose awkward motion or interpolation artifacts. Try the simpler interpretation before accepting an automatic smoothing effect.
Export a small test that includes the talking shot, the slow detail and a fast hand movement. Compare it with the source and then with the uploaded result after processing. If movement is already uneven locally, revisit the timeline before blaming distribution. Save the rate and speed interpretation with the project so the next editor can reproduce the intended result.
Keep a small motion test for future sessions
Record the same short action under the planned lighting with two suitable capture options. Include a hand crossing the frame, a moving liquid and a stationary object with a clear edge. Name the files with the device, capture mode and intended playback. Once the project interprets each correctly, compare the exported clips without looking at their settings. You are choosing which treatment communicates this action, rather than selecting a number because it sounds professional.
If the slow version looks smooth but its background pulses, solve the lighting problem before filming the final take. If it looks clean but the action seems unnatural, reconsider the speed change. If a normal-speed clip appears uneven only after editing, inspect timeline interpretation and export. These observations belong in separate notes because they point to different causes. Keep the successful test with the shot list; the next session can begin from an observed result under known conditions instead of repeating an uncertain setup.
Apply the decisions to one recording
Consider this illustrative example. A café records a normal spoken introduction and a slow-motion pour. The editor chooses settings for each purpose and checks that the pour is interpreted correctly in the project. A higher capture rate is not applied to every scene simply because it sounds more professional. The final review looks for smooth, readable action.
Checks before you publish
- Identify the motion. Decide whether the scene needs ordinary playback, fast action or a planned slow-motion sequence.
- Check recording conditions. Review light, flicker and camera capability before choosing a higher capture rate.
- Plan the timeline. Use a consistent editing approach and understand how differently recorded clips will be interpreted.
- Inspect playback. Review the exported movement and the actual uploaded result rather than relying on the settings label.
Give this exercise a place in your Instagram marketing action plan. Keep the source recording, the approved export and a short note about the decision you changed. That makes a later correction easier to diagnose. For the wider content planning context, work through the free Instagram course preview using the same project.
Official reference
Instagram: Best Practices in the professional dashboard. Check current account guidance. Production exercises above are editorial suggestions.